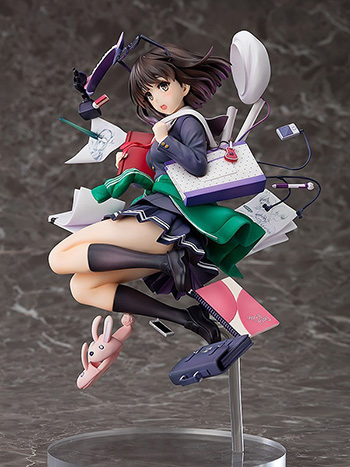
This box has been sitting near my work station for a while and finally found the time to unbox. Heck, there are about 7 more figure boxes just beside me waiting to be unboxed so expect some more unboxing posts in the next few weeks.
I was warned before that setting up this figure of Megumi can be a pain. In fact, the person that told me this damaged his — broke the cat ear headband. I went on with this one with that knowledge in mind, being extra careful at every step of the way. There are some figures that you simply unbox and display like this other figure of Megumi and then there are figures like this one where you have to attach a lot of accessories.
The Box
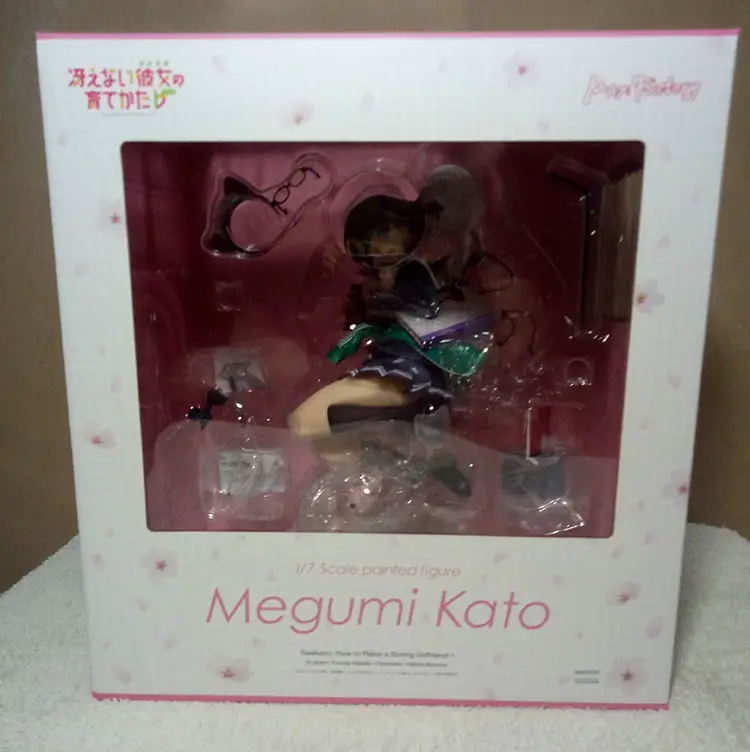
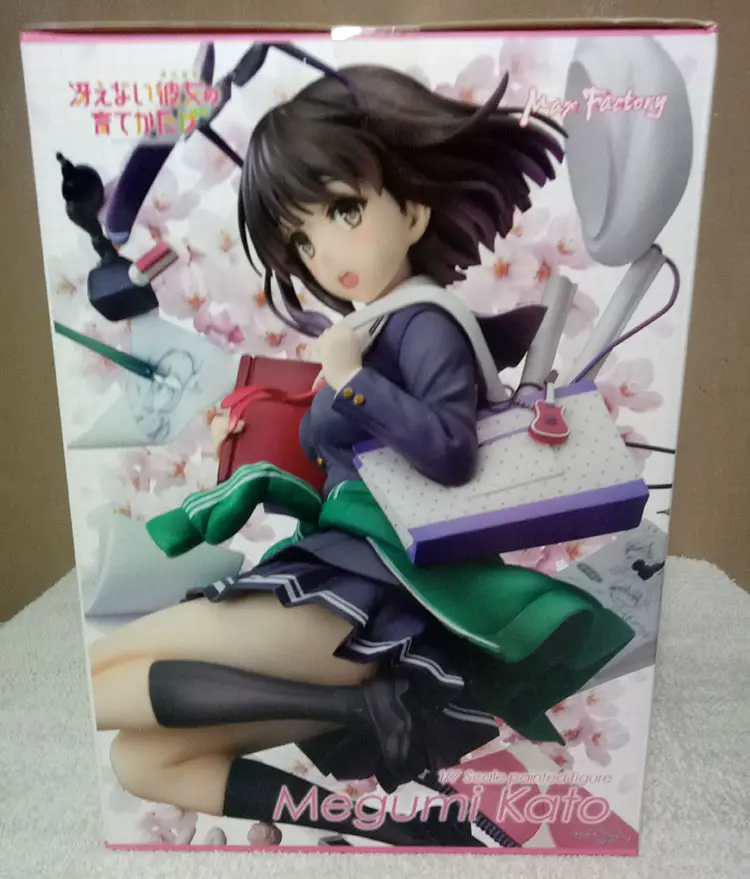
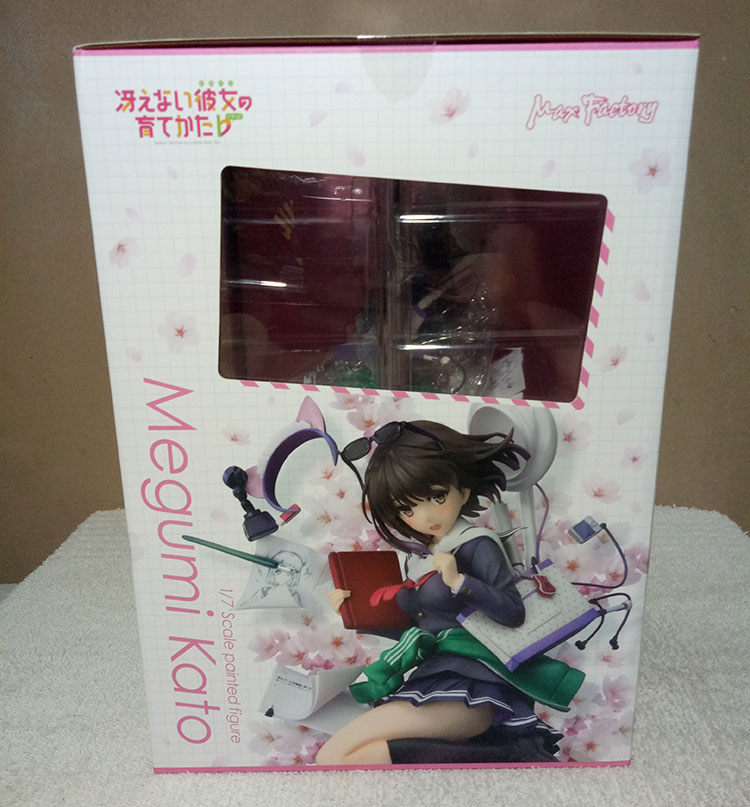
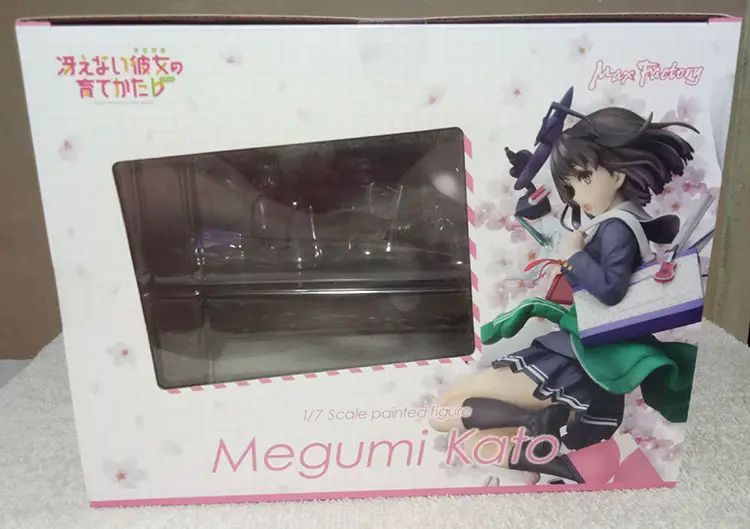
I’m not particularly picky about boxes since I unbox everything and rarely sell. The box for this one has an especially large window in front, an image of the figure on the left side and smaller windows on the top and right side. The back side is nicely done as well with various portraits of the figure itself. Just check out the images below.

The Unboxing
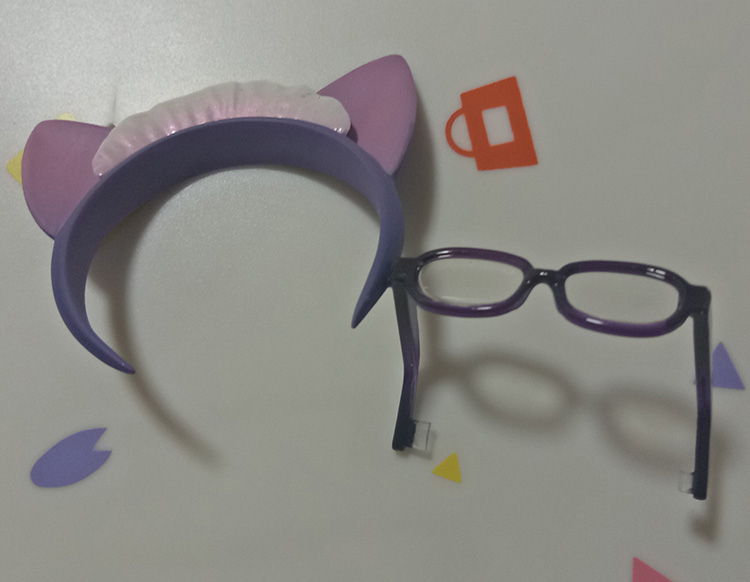
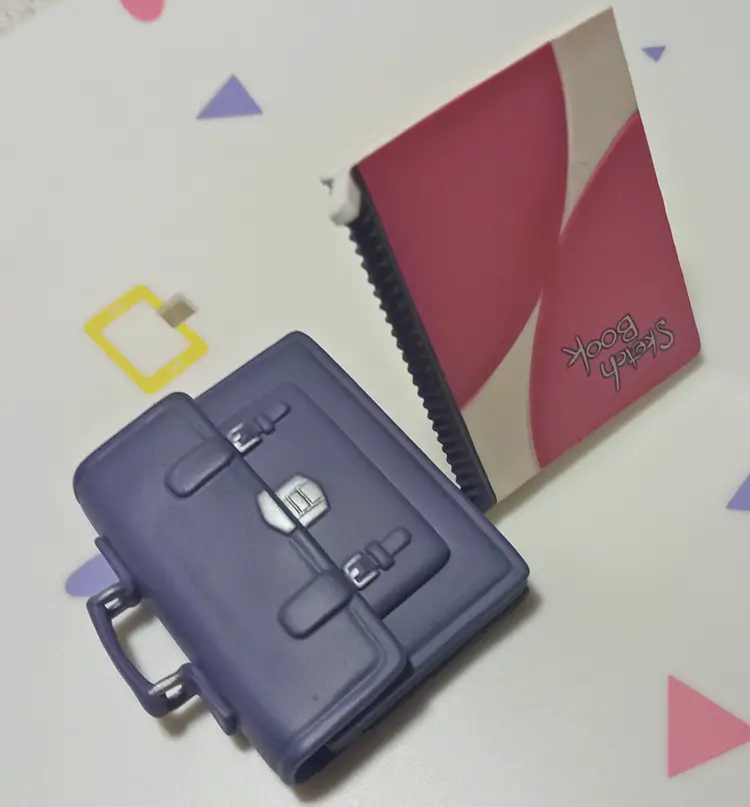
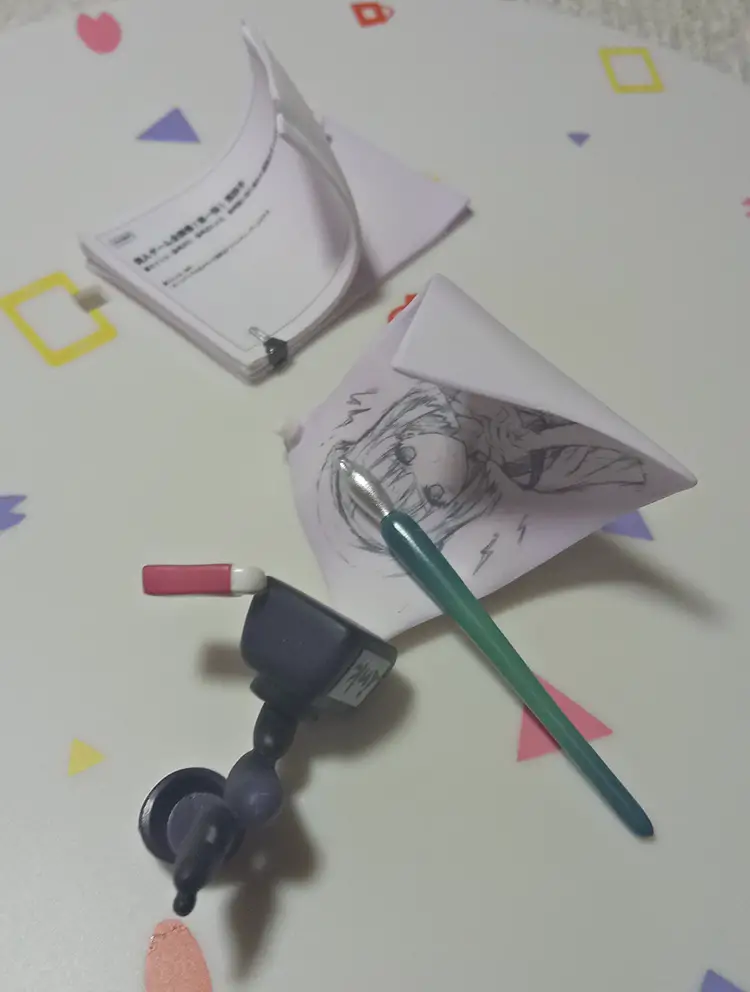
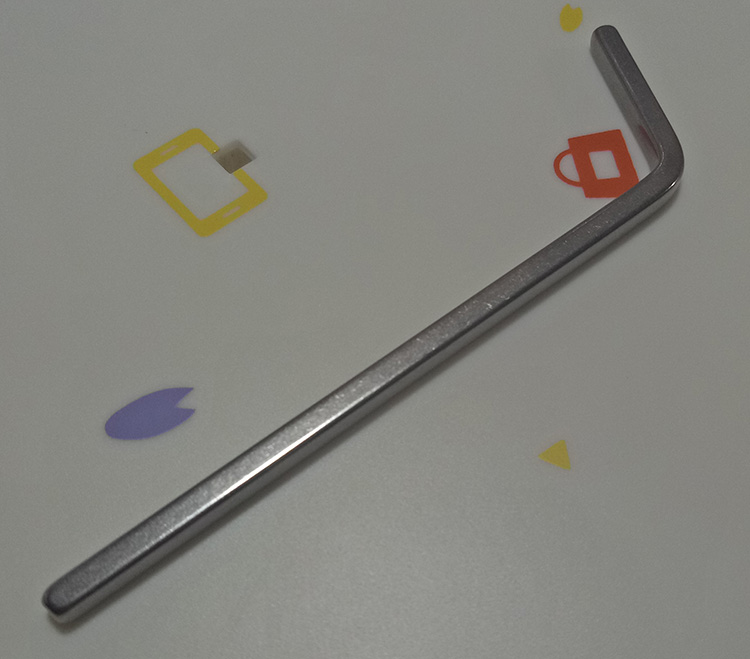
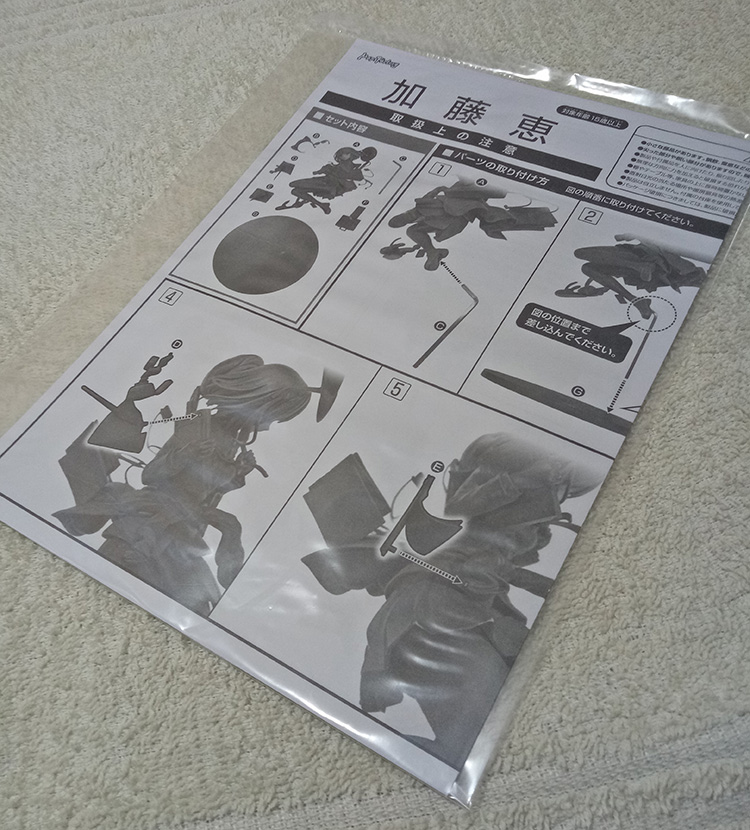
Opening the box, you’ll be greeted by plenty of accessories. Do be careful at this stage as I almost broke one piece thinking they were two separate pieces but were actually connected. You have the base and the main figure, the script, the cat headband which is connected to the glasses, the sketch of the heroine connected to the ink bottle, the sketch book connected to the bag, and the metal rod that lets you prop her on the base. Bring out the insert as well. You’ll most likely need it for guidance in assembly.
The head comes off so you can remove that piece of plastic on her neck. I almost missed this one and already took a few photos that I had to redo.
Assembling the Figure
The base is pretty simple and simple is fine. It is a plain white color with a few printed patterns. It has a single hole where you insert the metal rod to prop the figure.
I did mention in the beginning that assembling this figure was a difficult task. The various accessories look very fragile. Refer to the insert for instructions on how to assemble or read on below.
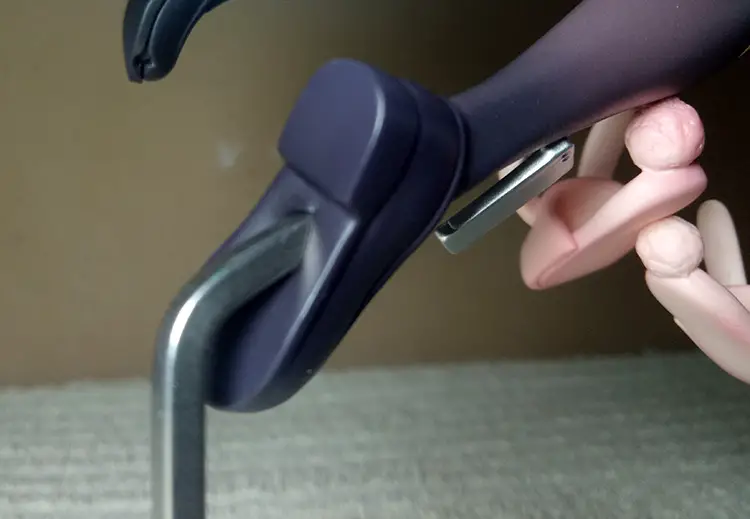
You’ll want to start with attaching the metal rod to the bottom of the right foot. You’ll want to get the right angle so you can insert it without much resistance. It goes in pretty deep so make sure to go all the way. Be careful you don’t push on it to hard as you might damage the other protruding parts of the figure. Once you get the metal rod in, prop the other end firmly on the base.

The second step is to attach the glasses to the head. There are two holes on the hair where you can attach the pegs on the glasses. You will need to bend the glasses a bit so you fit it firmly in place.

The third step is to attach the sketch of the heroine and the ink bottle. This attaches to a depression in the red sketch pad.
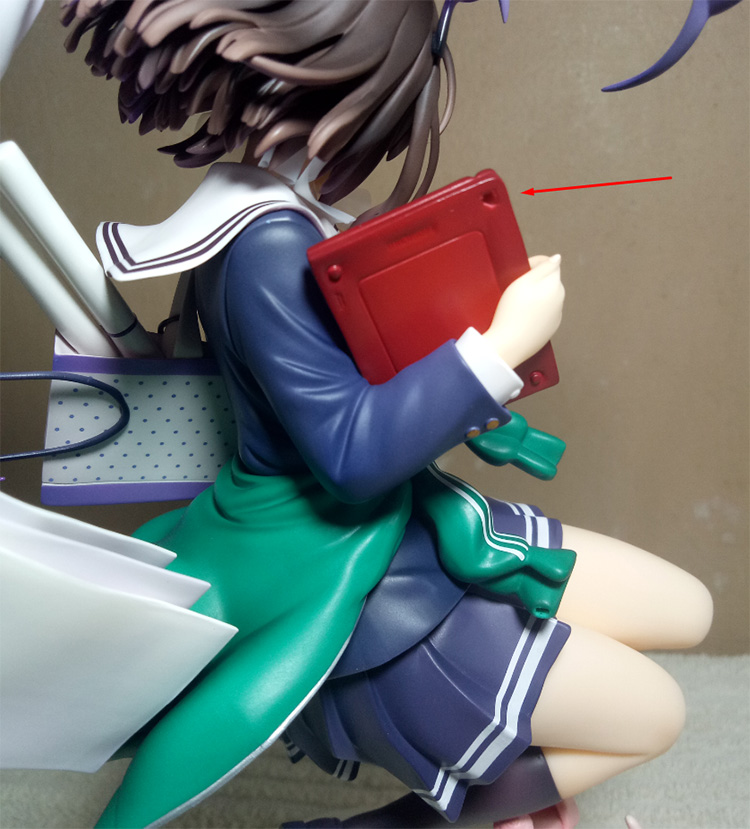
The fourth step is to attach that piece of paper which you’ll know is a script if you watch the anime. This one is the easiest to attach. Look for the hole at the edge of the tracksuit.
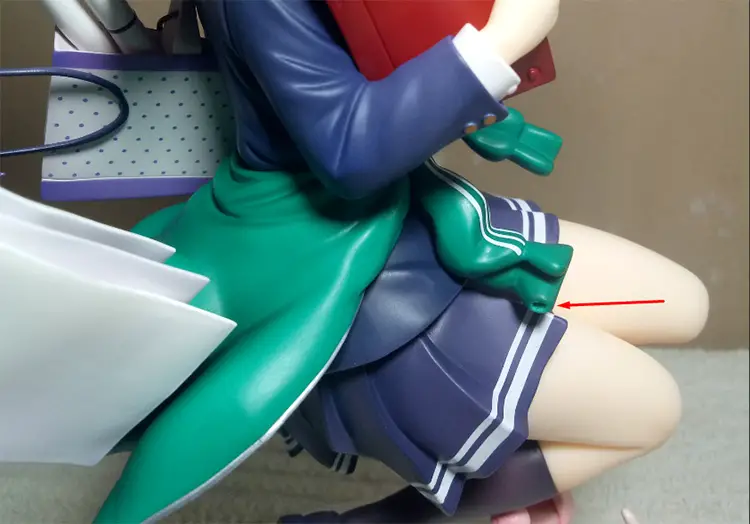
The fifth and final step is to attach the sketch book to the left shoe.
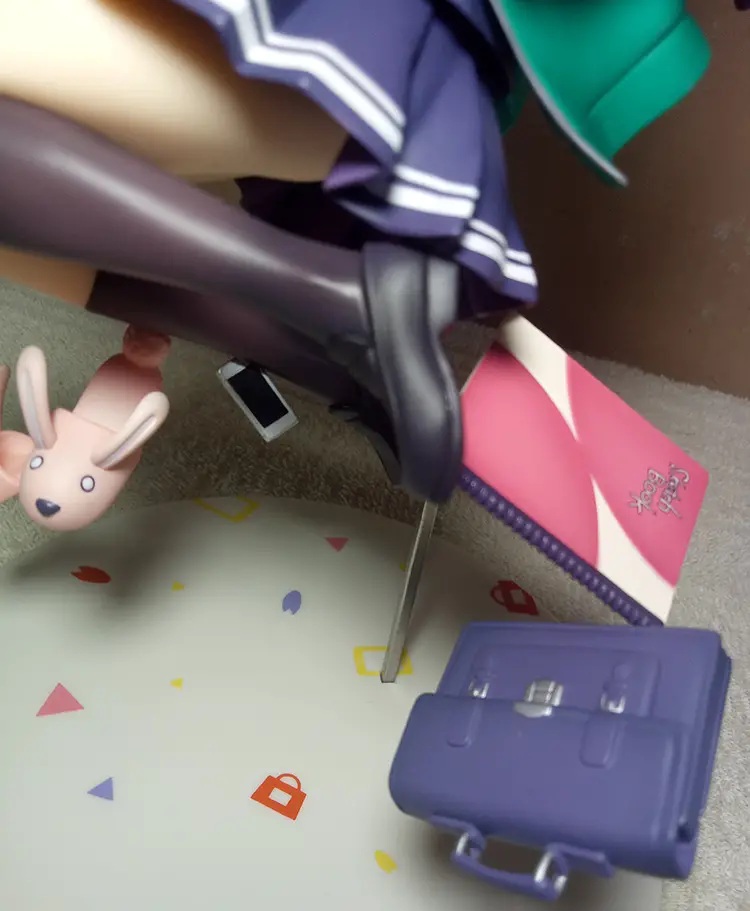
And that’s it. If you didn’t end up damaging any parts of the figure during assemble, give yourself a pat on the back and heave a sigh of relief.
Review
Max Factory has been known to make high quality figures. This figure of Megumi Kato, in particular, is perfection. I tried hard to look for flaws but there are hardly any.
One gripe is that she is very fragile because of the many accessories that can snap of at any time you apply a little too much force. I’ve heard horror stories of her breaking some accessories. I don’t remembering having such a hard time assembling Eriri.
Another issue that I found is that she is wobbly. I’m not worried about her falling from the stand but, at the moment, she is placed on my desk and I can see her wobbling as I type this. I do plan to put her inside the cabinet after writing this but now the question arises if there will be any problems down the line. I think the metal rod should be able to her hold snug for years to come. I don’t think it could cause leaning issues. But I might be wrong. I would not recommend displaying her on a table or any surface that is not sturdy and can cause her to wobble like what happens on my table.
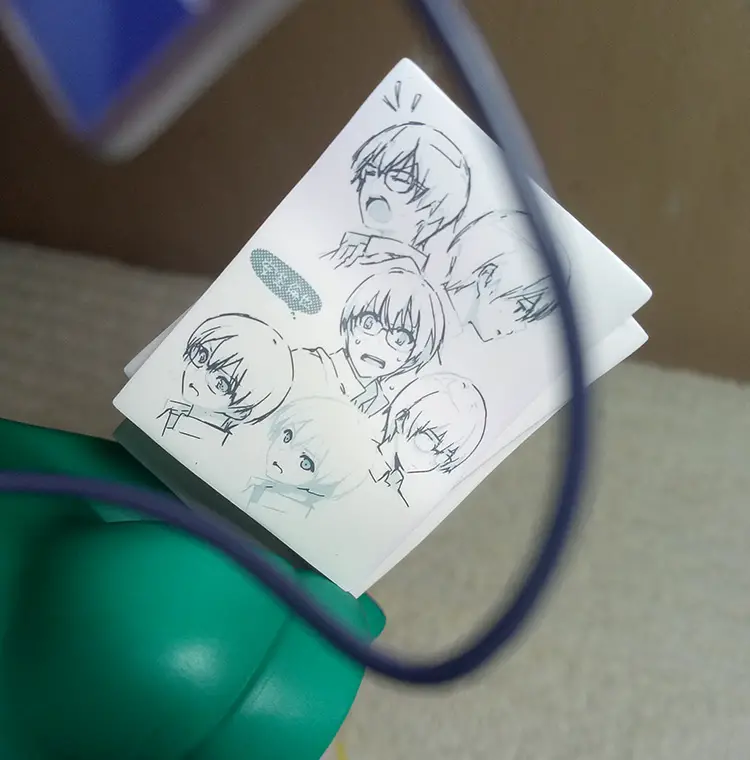
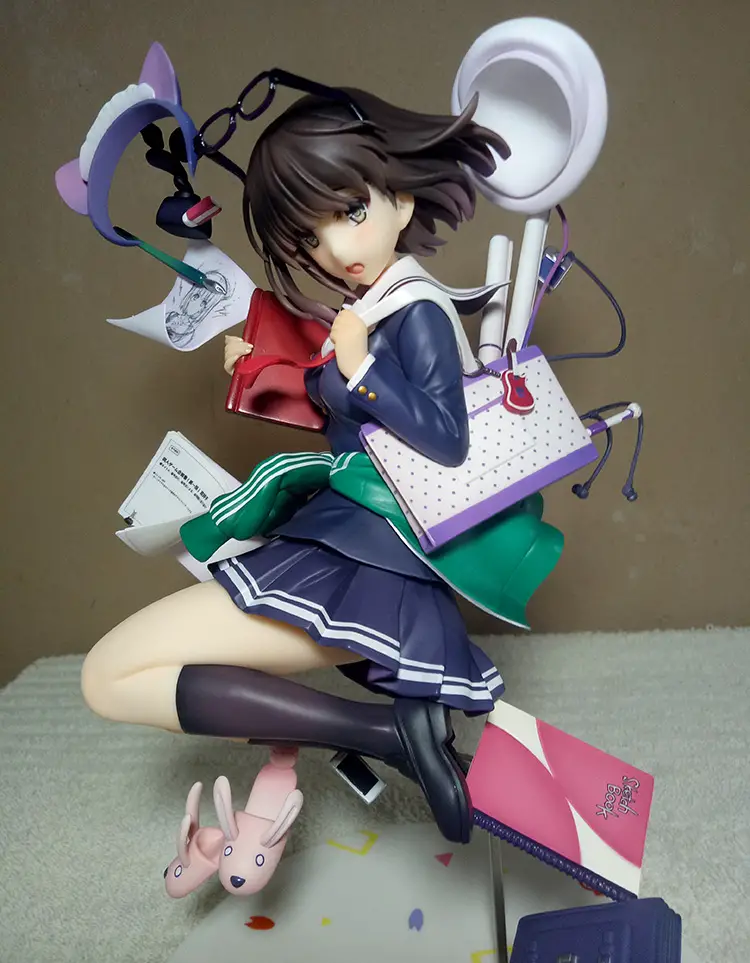
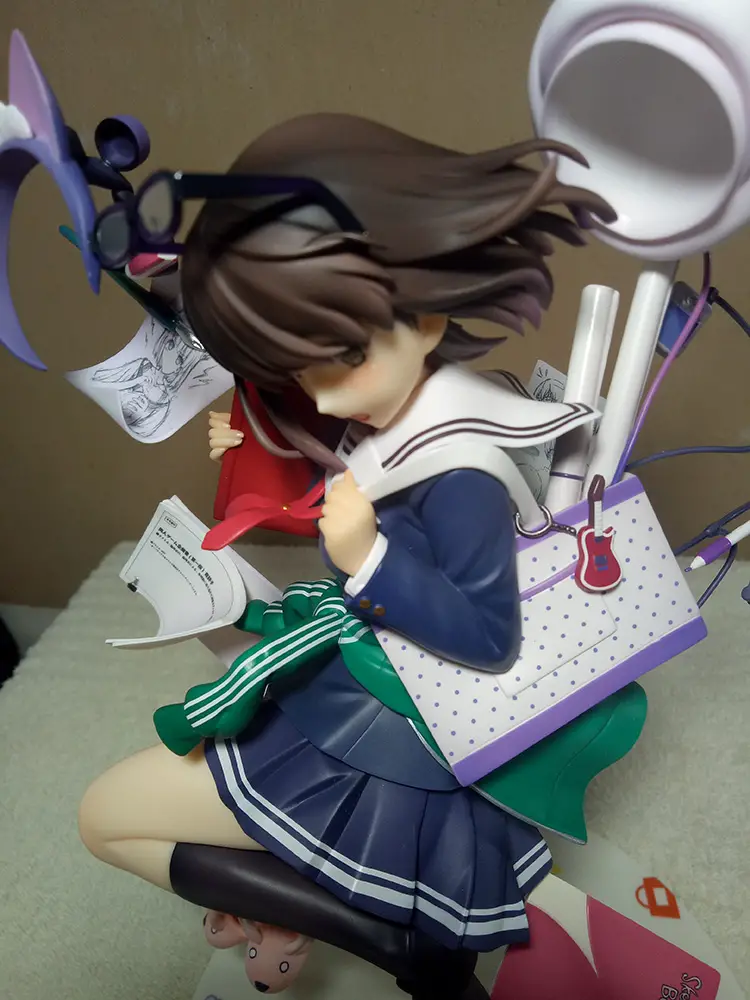
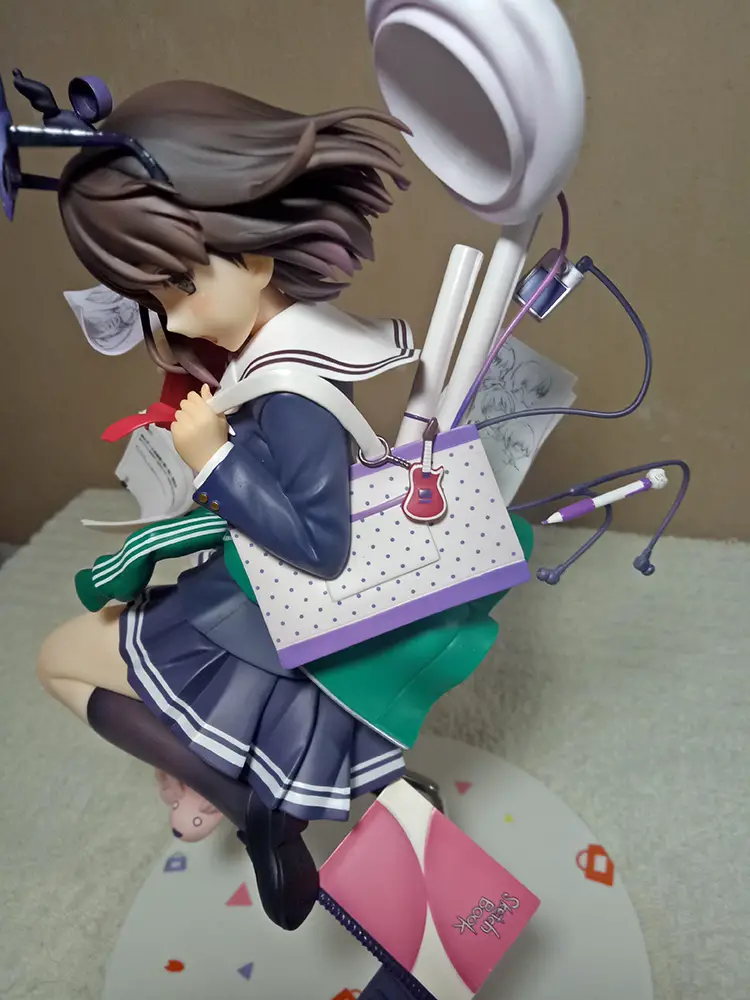
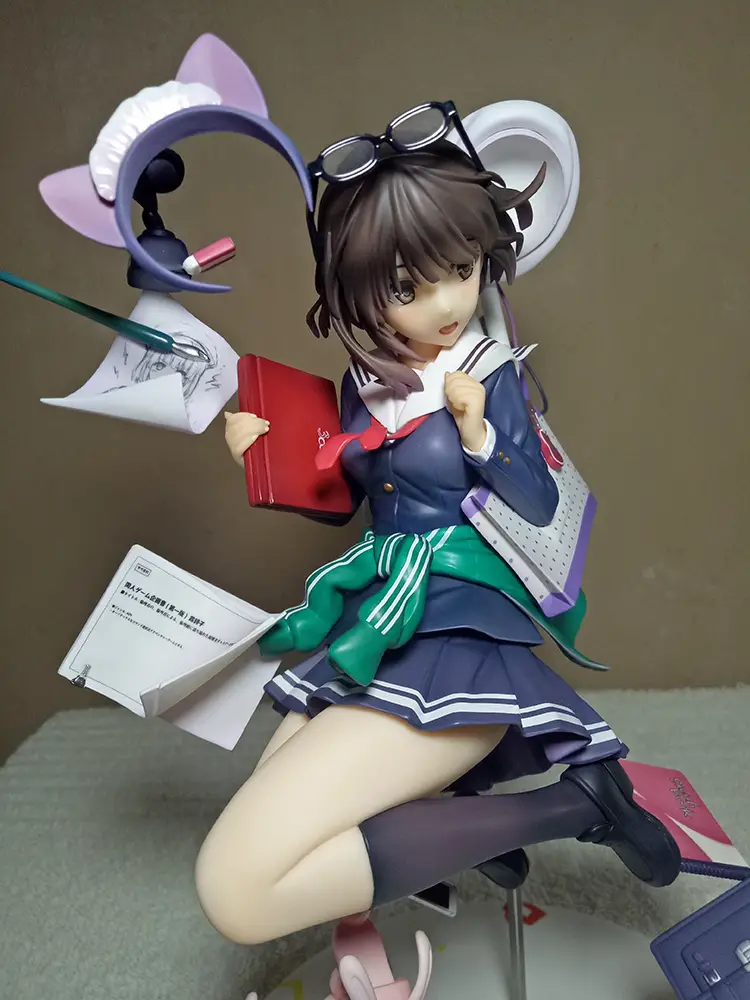
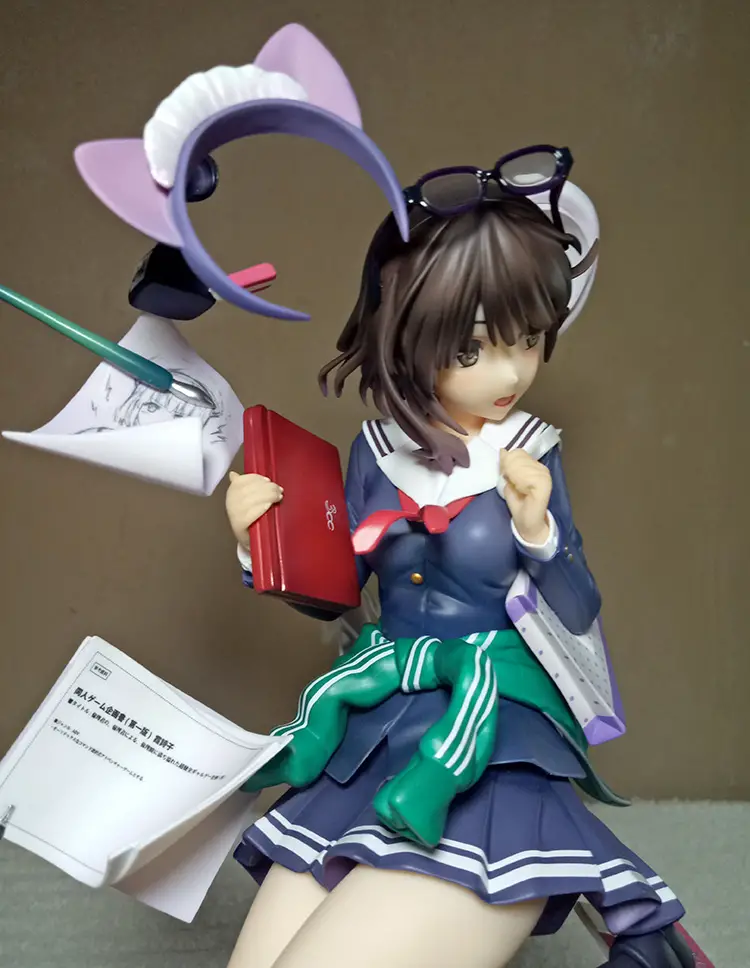
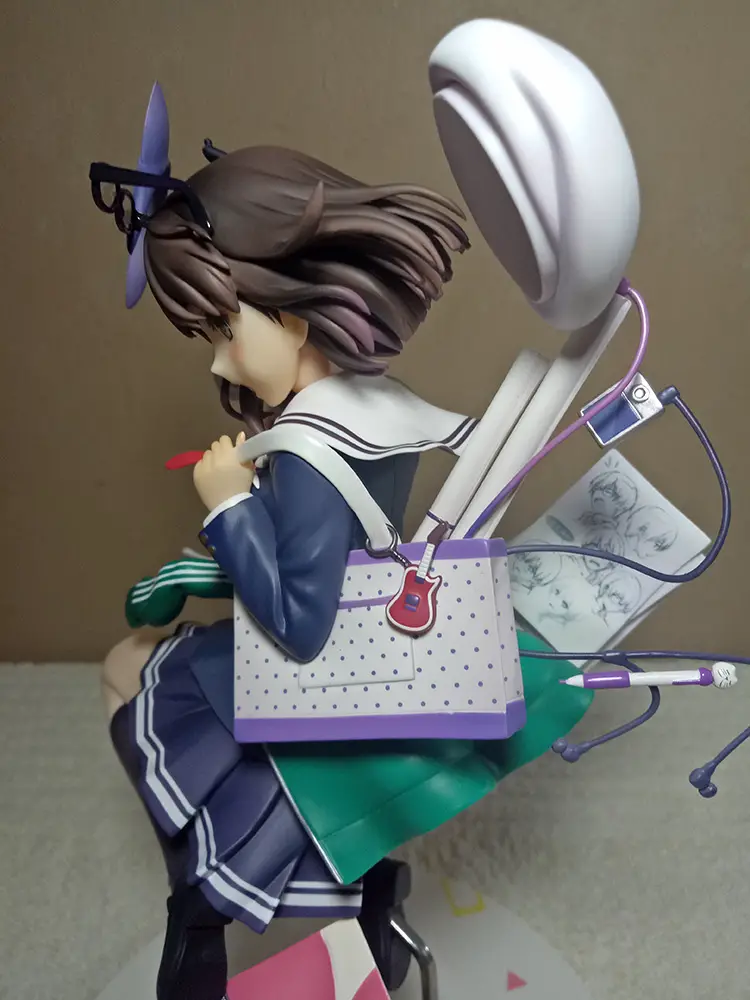
The figure has rich attention to detail evidenced by the accessories. You can see the portrait of the hero and heroine which is based on Megumi and Tomoya.

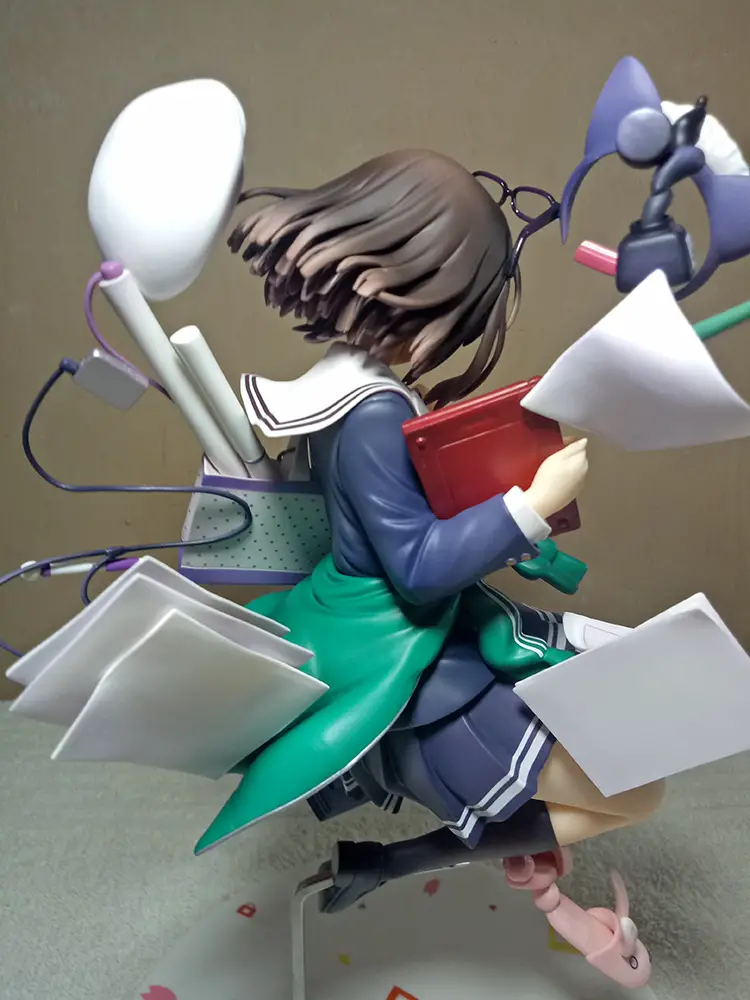
The figure in its entirety looks good as well. It has a dynamic pose. I mean, you don’t often get a figure in a jumping pose.
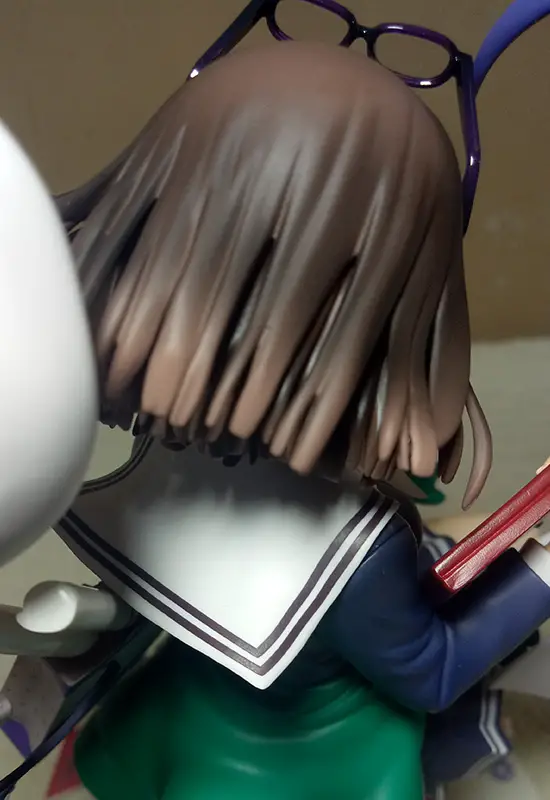
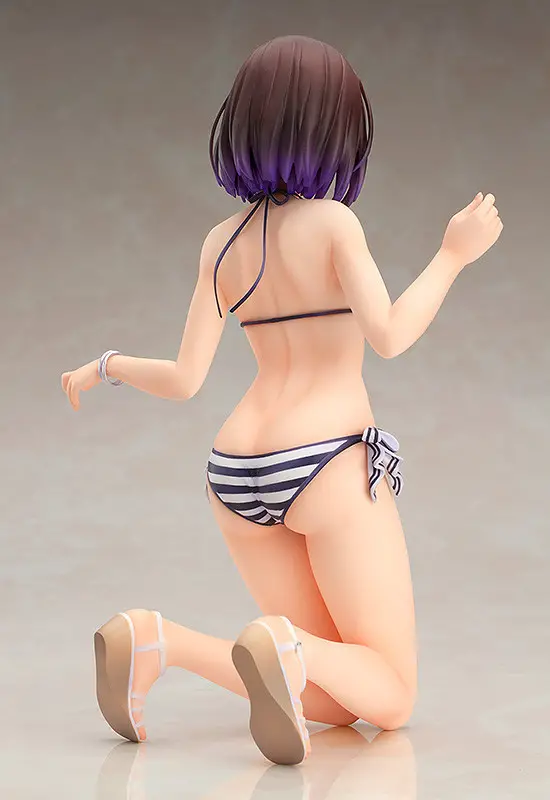
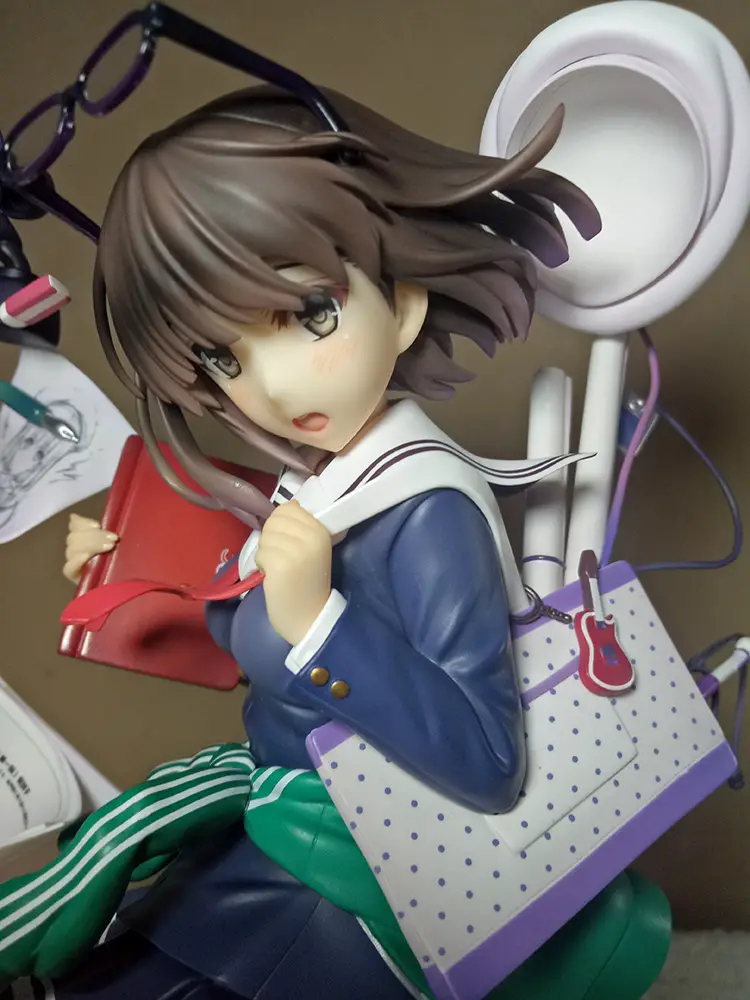
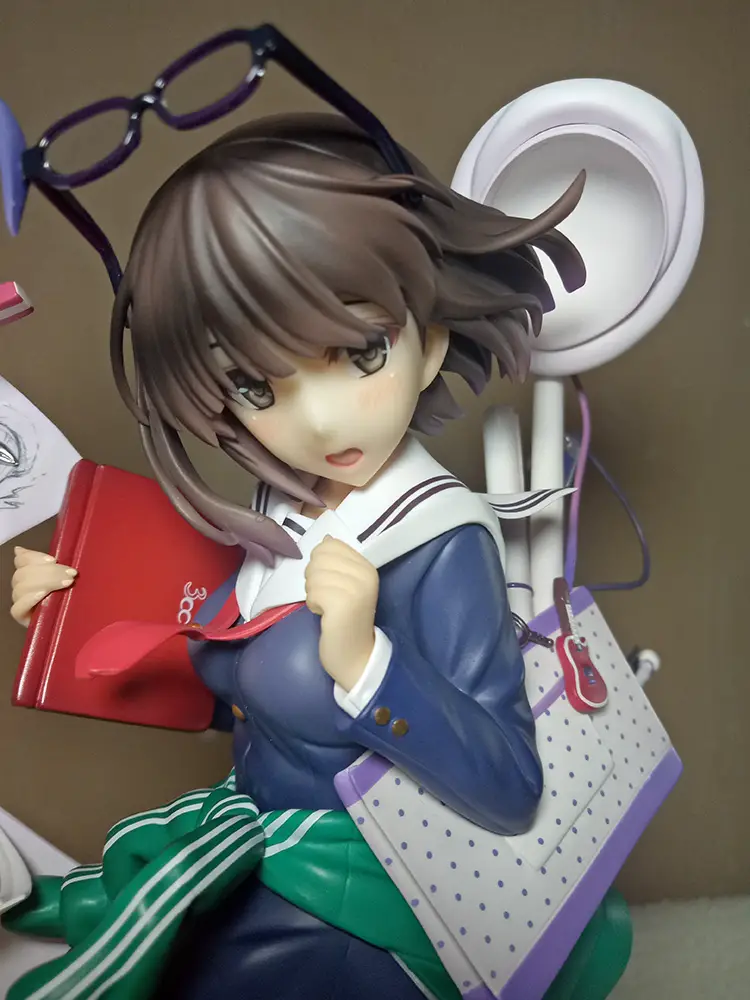
Her face has that cute meek expression which is the essence of her character. I am a bit disappointed about the hair though. In comparison to her other figures that have purplish tips on the hair, the tips of her hair this time around was just a lighter shade of brown. Check out the comparison below with the swimsuit figure done by Good Smile Company.
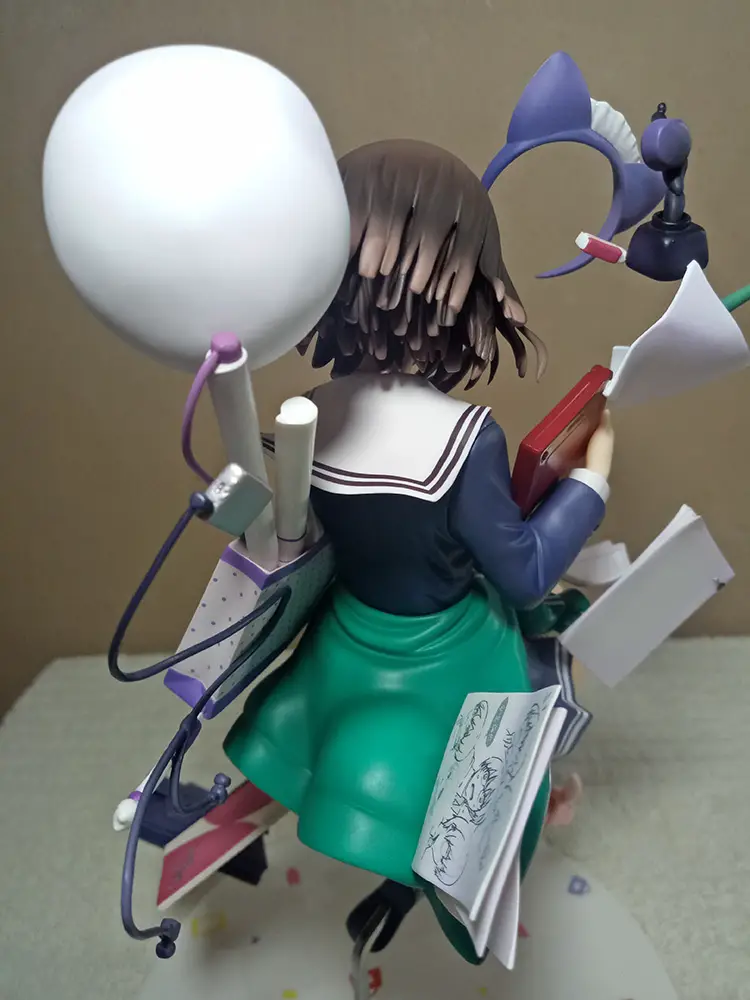
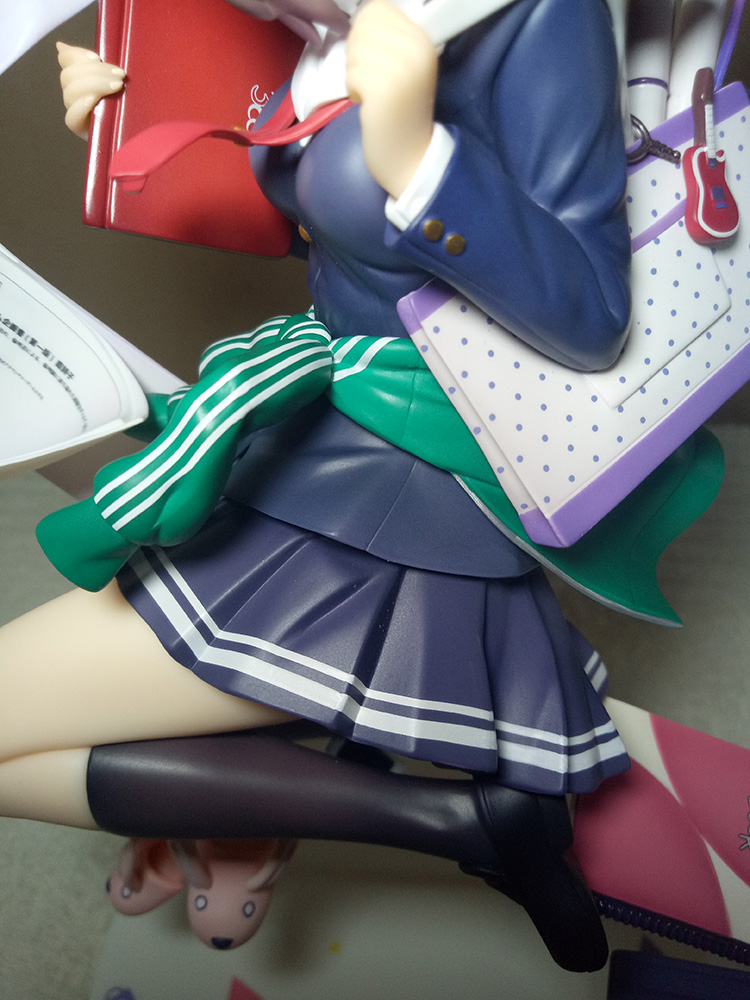
Interestingly, she dons items that are not only representative of her, but also the other characters in the series. She has what I assume are Eriri’s sketches of her and Tomoya as well as the script (presumably) written by Utaha. She even has Eriri’s tracksuit wrapped around her waist. And then there are other items like the ink bottle, bunny slippers, her beret and glasses, the nekomimi headband, the sketch book, the school bag, the casual bag, mobile phone, music player, pen and earphones.
The paintjob and sculpt is done to perfection. No unpolished parts. No stray paint anywhere and everything is painted in great detail. Heck, the makers made an effort to do miniature sketches and even adding miniscule text on the script. While, I cannot read Japanese, that level of detail is admirable.
Check out more pictures below.






I started the NekoFigs blog in January 2021, 5 years after I’ve started collecting anime figures. It all started with one humble prize figure of Saber Lily which was bought on a whim. Now, I have also started my own anime figure store which just means more box problems.


Leave a Reply